Develop/FastAPI
FastAPI Postman을 통한 POST요청(사용자 ID) - 55
동석해요
2023. 1. 10. 23:21
728x90
SMALL
JWT를 생성한 후 Postman을 통해 POST API를 요청해서 todos 테이블에 데이터를 저장해 보자
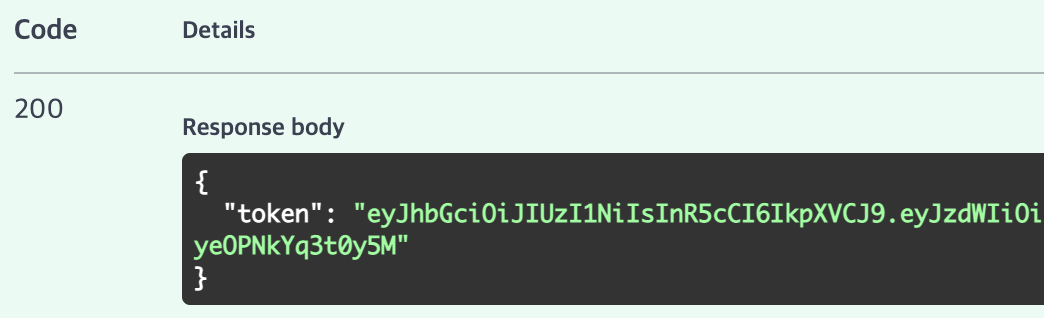
1. auth 서버 실행 후 POST API를 통해 사용자 bearer token을 생성한다.
#포트를 8000번이 아닌 9000번에 열겠다.
uvicorn auth:app --reload --port 9000

9000포트로 실행 시킨 이유

#auth.py로 토큰 생성 port:9000
#main.py로 데이터 요청 port:8000
2. main.py에서 POST요청을 위해 auth의 함수를 import 한다.
from auth import get_current_user, get_user_exception@app.post("/")
async def create_todo(todo: Todo, user: dict = Depends(get_current_user), db: Session = Depends(get_db)):
if user is None:
raise get_user_exception()
todo_model = models.Todos()
todo_model.title = todo.title
todo_model.description = todo.description
todo_model.priority = todo.priority
todo_model.complete = todo.complete
todo_model.owner_id = user.get("id")
db.add(todo_model)
# db.flush()
db.commit()
return successful_response(200)※ bearer token와 맞는 user의 id를 받아서 owner_id에 넣는다.
3. create_todo의 생성 form을 복사해 온다
{
  "title": "string",
  "description": "string",
  "priority": 0,
  "complete": true
}
4. Postman 접속 후 POST 요청해 보기
새로운 터미널을 열어서 실행
uvicorn main:app --reload
user: codingwithseok / password: test1234! 의 사용자에 대한 todos 테이블의 데이터를 생성한다.
※ 사용자에 대한 인증을 위해 bearer token을 반드시 넣어줘야 한다(token을 생성한 이유)
Body에 데이터를 넣어 요청을 보낸다. 이때 옵션은 raw / type은 JSON
status 200 코드를 확인할 수 있다.


다시 GET 요청을 했을 때 id 4로 추가된 것을 볼 수 있다.
owner_id는 user: codingwithseok / password: test1234! 에 대한 토큰을 넣었기 때문에 1로 들어간 것을 확인할 수 있다.
728x90
SMALL